Probably anyone who has repaired video cards before already knows this: video artifacts are not always caused by a bad GPU chip. I myself usually try not to assume this either. But with many modern GPUs, it seems that’s the case most of the time.
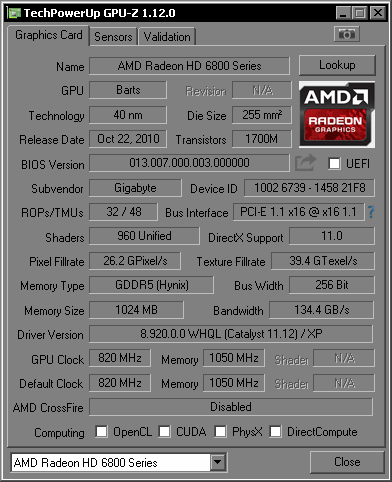
Well, not in today’s post here.") Although the GPU I’m about to show is not exactly “modern” anymore, it is still fairly relevant in terms of hardware design to modern GPUs. The video card I have is a Gigabyte Radeon HD6850 with 1 GB of gDDR5 RAM. Pictures of the video card, just for reference:
Although the GPU I’m about to show is not exactly “modern” anymore, it is still fairly relevant in terms of hardware design to modern GPUs. The video card I have is a Gigabyte Radeon HD6850 with 1 GB of gDDR5 RAM. Pictures of the video card, just for reference:
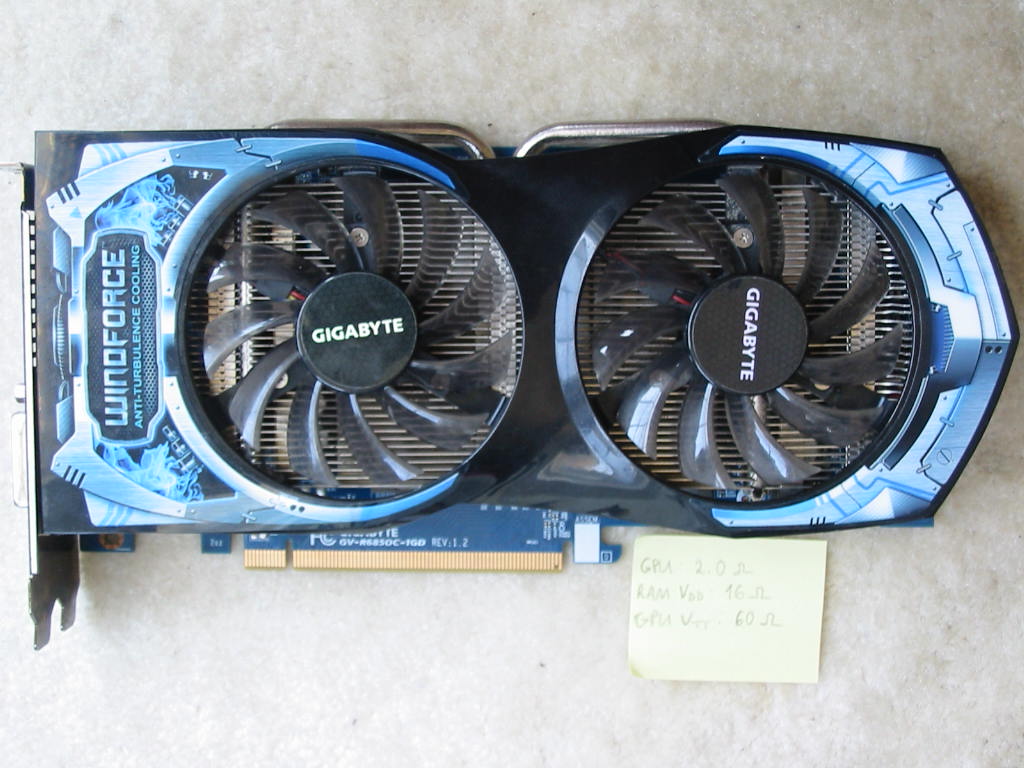
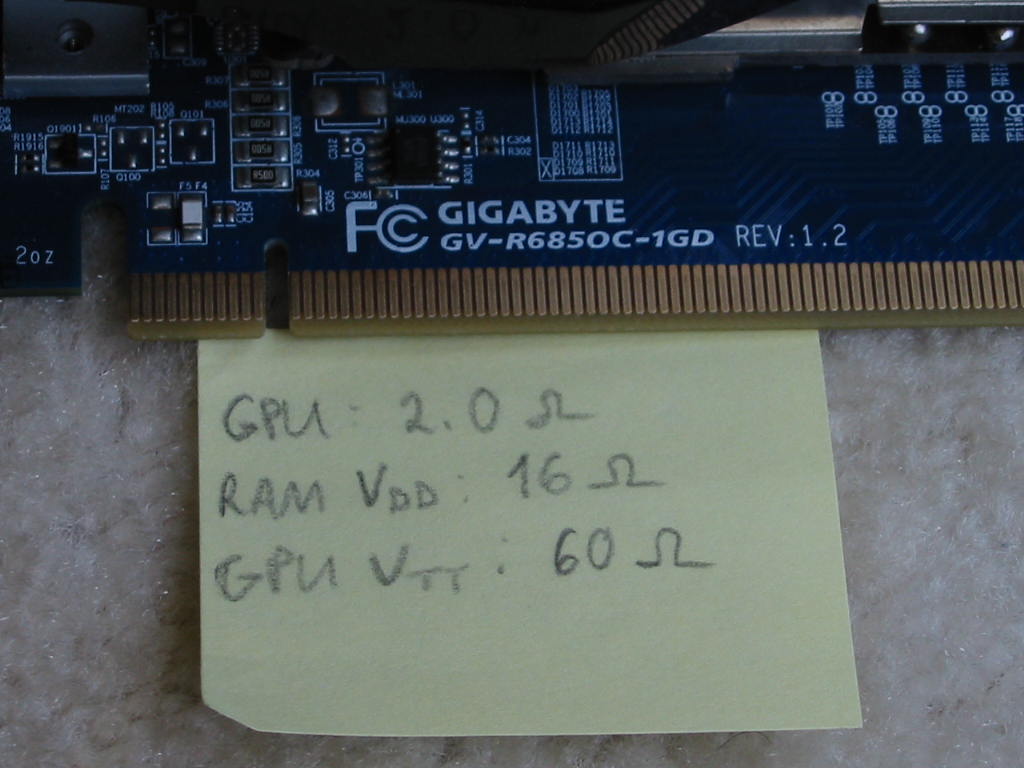
You can also see the resistances of the GPU V_core, RAM, and GPU V_tt I noted down on a sticky note, as I initially thought this GPU will need a reflow (it didn’t.)
Here is what the video displayed when hooked to a monitor:
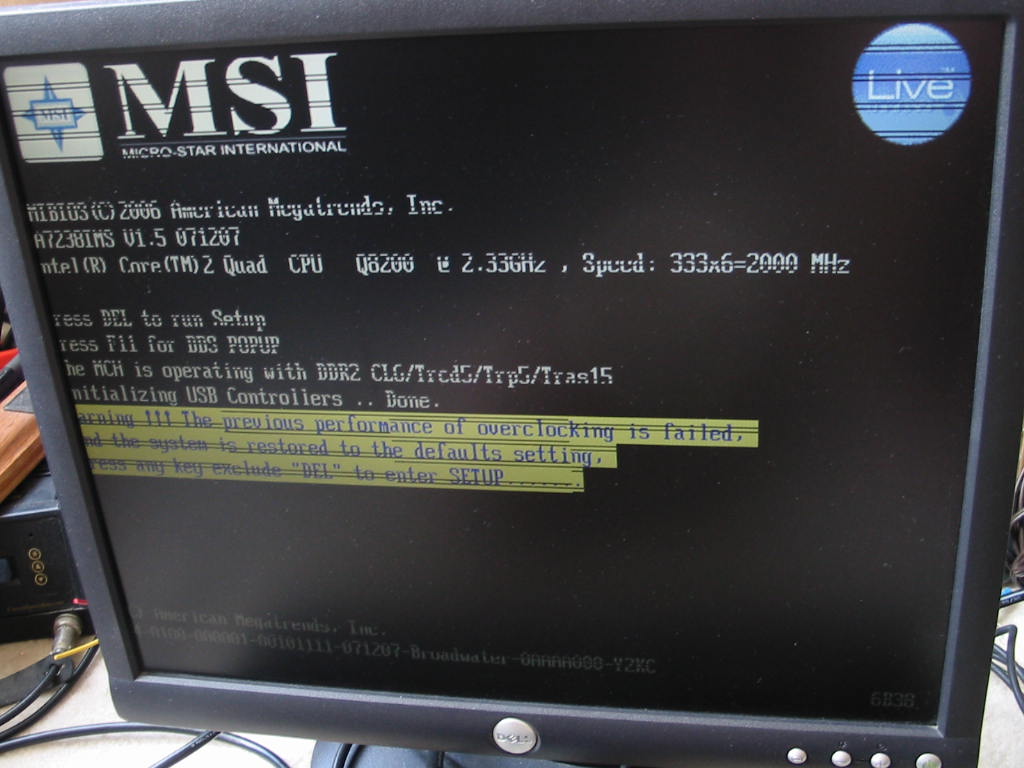
As you can see, the picture is mostly correct, but there were horizontal-running black lines across the image. I suppose the video artifact pattern may tell a clue as to what is failed, if one knows more about how the GPU and GPU RAM interface exactly. I don’t, so when I first saw the artifacts, I assumed it was yet another video card with a failed GPU to add to my collection. How I found that’s not the case turned out to be almost by coincidence.
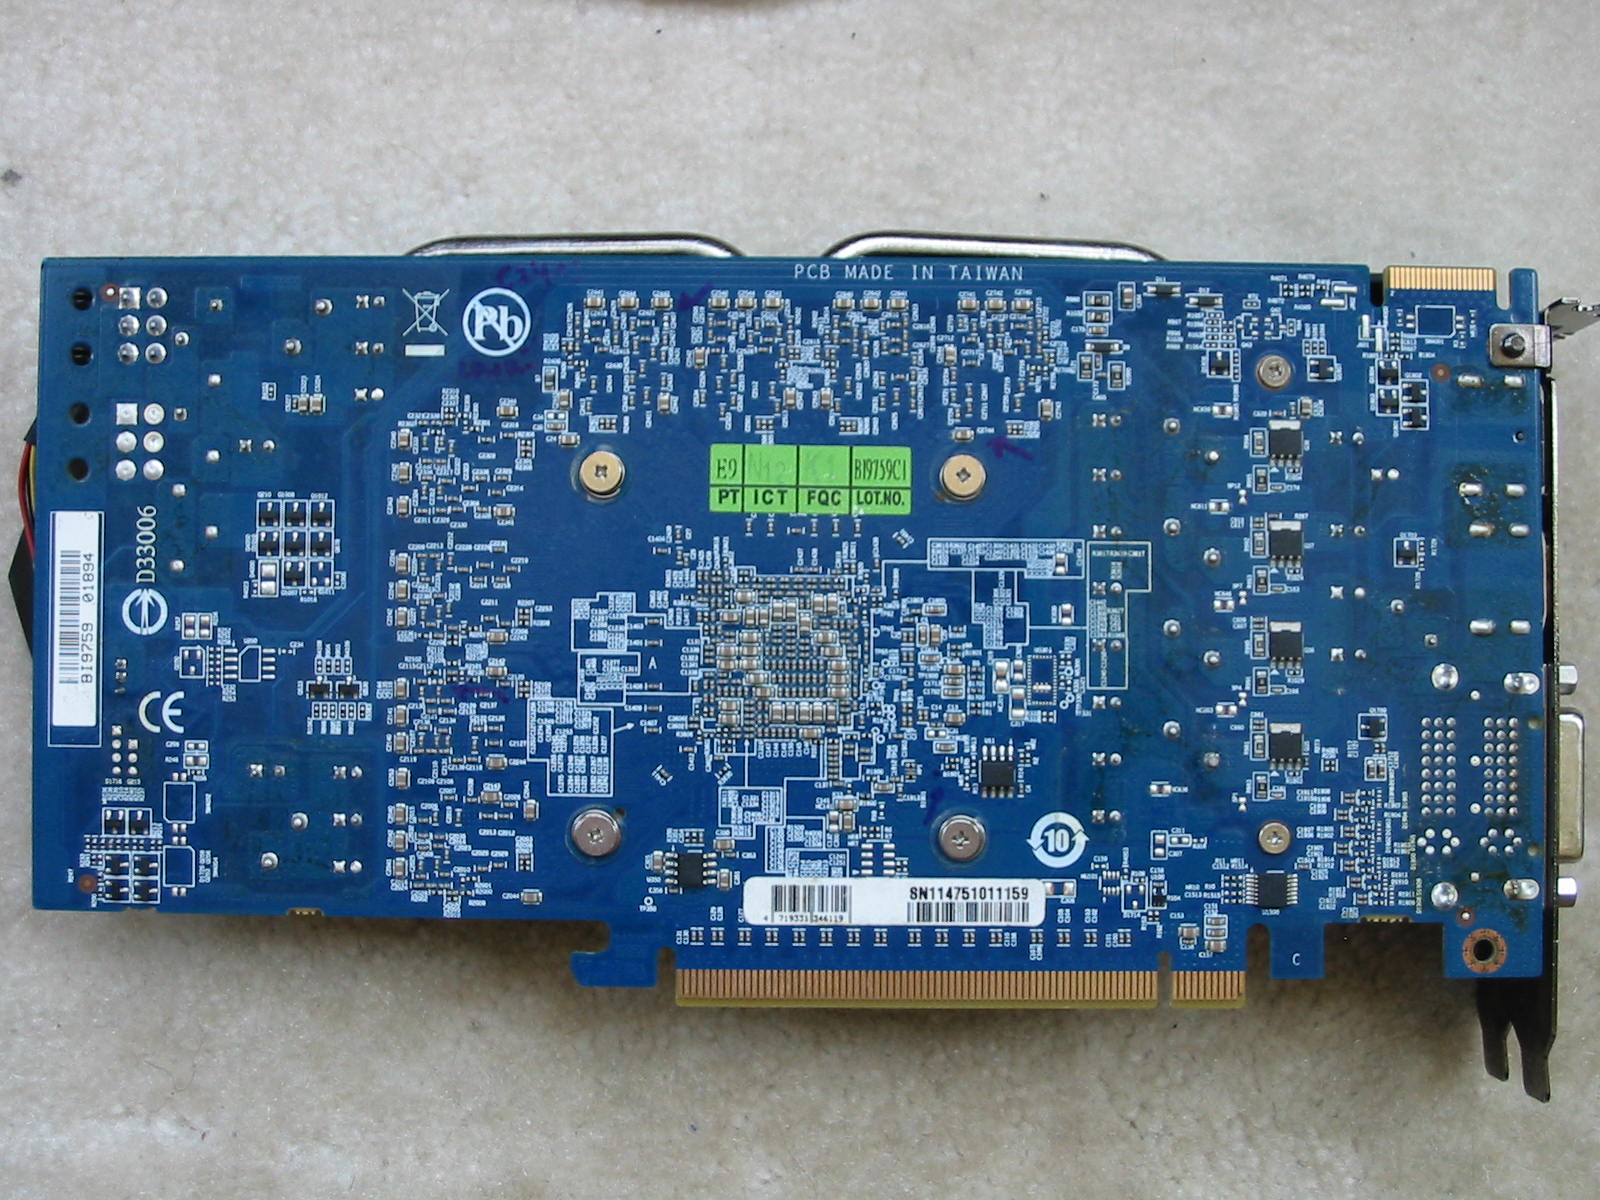
As with all used GPUs I get (be it eBay, Craigslist, or wherever else), I always check for missing, cracked, and broken SMD components on the back of the PCB (and a quick glance at the front too.) You might be surprised, but I can say that about 50% of the time, I easily get cards with a minimum of one chipped or missing SMD component. Typically it’s the larger SMD multi-layer ceramic caps (MLCCs) that seem to get damaged from rough handling, though not always.
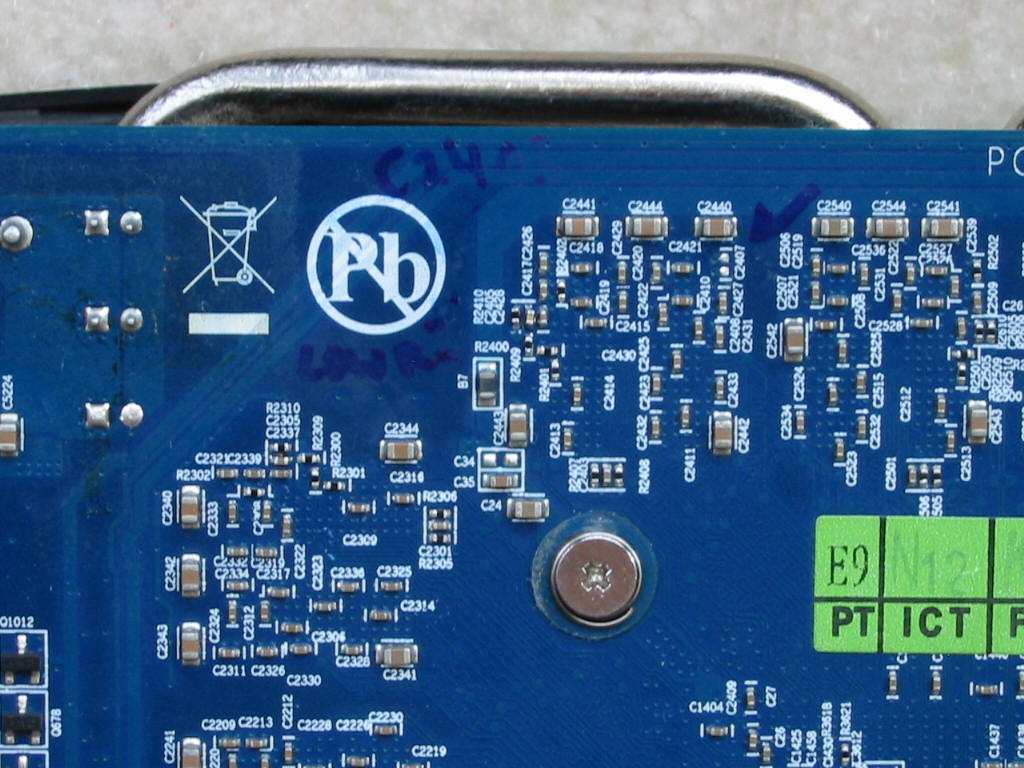
Knowing that, I perform a thorough inspection under good light. In case of the above Gigabyte Radeon HD6850, I found three (3) missing small SMD (1208 metric, I think) ceramic caps around the RAM. All were across the RAM Vdd rail (filtering power), so I expected the card would work fine without them (a few of these missing will almost never cause an issue.)
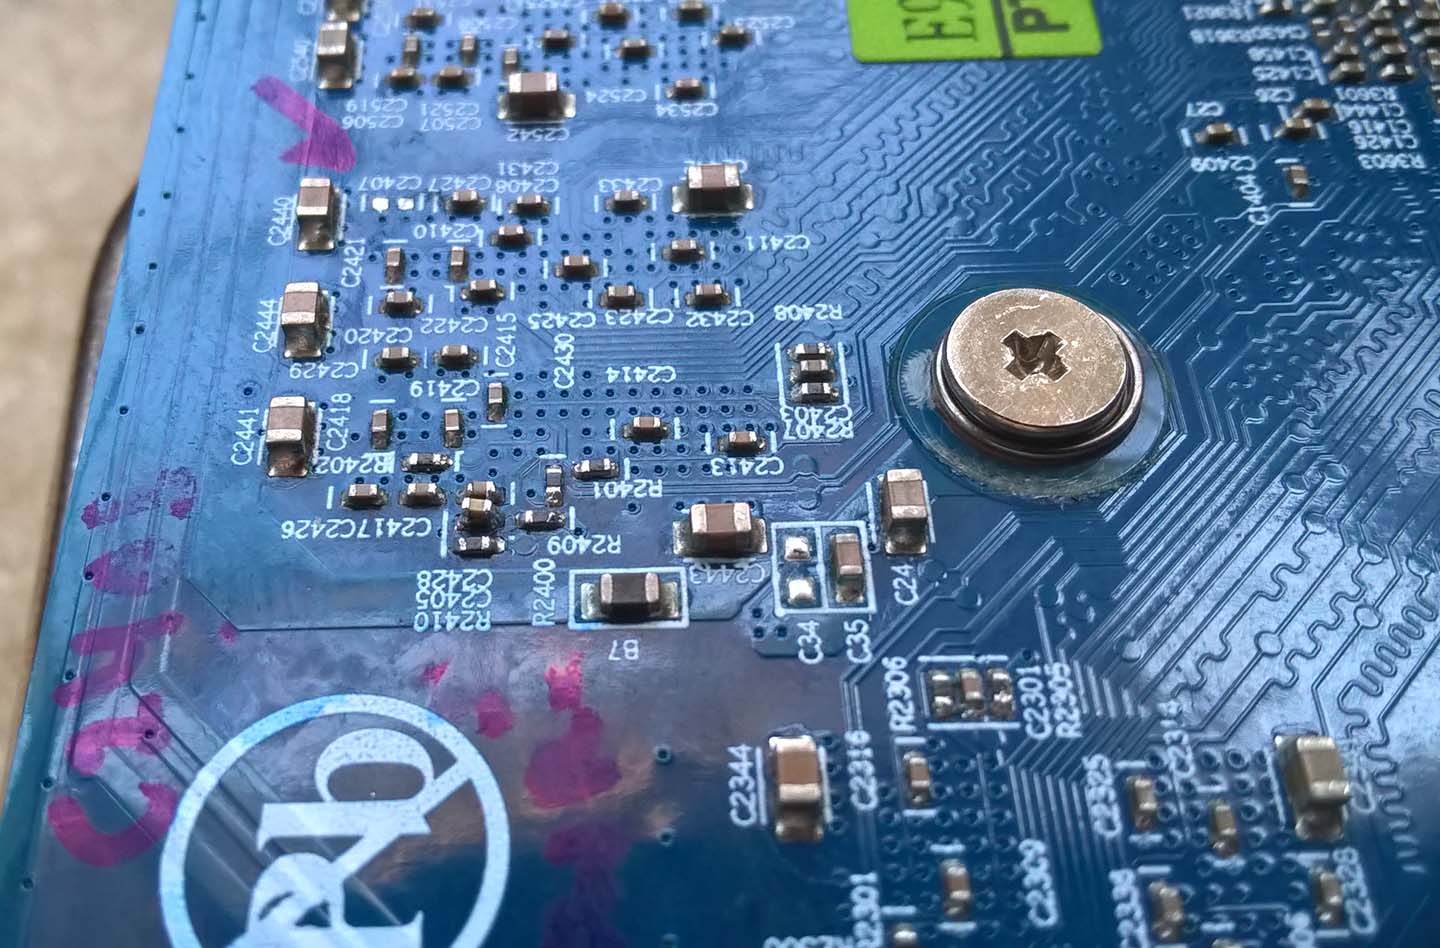
But when I was greeted with video artifacts, this is when I had to dig in a little deeper. Having experienced a desktop DDR3 RAM stick not recognizing due to a cracked SMD array resistor (link to post here), I started checking all of the small resistors on the back of the card. When I got to the ones around the RAM, I found there is a pattern on these: four read around 1.6 KOhms, two ~60 Ohms, and one ~120 Ohms. Looking for this patter on the 5th RAM chip (out of the 8 chips), I saw one of the resistors was reading short-circuit across it (R2410), and two others reading much lower resistance (R2400 and R2401, IIRC.)
At first, I thought that meant perhaps a RAM chip has gone bad. But then I discovered the resistor with the short circuit across it also had a ceramic cap (C2405) in parallel to it. So what are the chances that the ceramic cap could have gone short-circuit?
… well, not frequent, but certainly happens from time to time. And I knew it couldn’t be the resistor, because resistors always go open-circuit or high-resistance when bad.
So knowing that SMD ceramic caps do have the tendency to short out, I removed the one showing a short circuit (C2405) and…. VOILA! All resistors on the 5th RAM chip read normal resistances just like the other chips. I removed a ceramic cap from another RAM chip that corresponded to the same spot as the bad one on the 5th chip, and measured its value: 680 nF. Welp, I didn’t have that value, but I do know my scrap Xbox 360 motherboards have many 220 nF SMD MLCCs. So I stacked two on top of each other for a total of ~440 nF. Three would have been ideal, but I didn’t feel like stacking do many on top of each other. Figured the ~440 nF capacitance should hopefully be close enough.
I then inserted the video card in my test PC, crossed my fingers, and pressed the power button.
Results: IT’S ALIVE!
This card is working properly now!
At first, I tested the card under a quick ATI Tool GPU test, and then some older games. It didn’t give any errors or artifacts at all.
Eventually, I installed this GPU in my newest PC I use for gaming (no, not the Q6600/EVGA i780SLI PC – built another one that I haven’t posted yet in the “Post Your System” thread ). This was back in August or thereabouts. So this Gigabyte Radeon HD6850 has been in use almost exclusively for gaming (mainly Fortnite) for close to 5 months now. It’s been very solid so far, knock on wood. Only issue I’ve had was with the fans not being wired correctly, but that’s a story for another thread. 
So there you have it: GPU video artifact problems does not necessarily mean the GPU chip is bad.
I think I got lucky, though. Most modern GPUs do tend develop bad GPU (and often artifacts from that) rather than anything else going bad, especially problems like the card intermittently detecting, dropping out under load, or displaying “randomly” –colored video artifacts all over the screen, particularly once the drivers are installed. Nevertheless, I’m posting this here to just to show that in some rare cases, you can rescue a GPU from the dumpster and give it new life again.
Well, not in today’s post here.
Although the GPU I’m about to show is not exactly “modern” anymore, it is still fairly relevant in terms of hardware design to modern GPUs. The video card I have is a Gigabyte Radeon HD6850 with 1 GB of gDDR5 RAM. Pictures of the video card, just for reference:You can also see the resistances of the GPU V_core, RAM, and GPU V_tt I noted down on a sticky note, as I initially thought this GPU will need a reflow (it didn’t.)
Here is what the video displayed when hooked to a monitor:
As you can see, the picture is mostly correct, but there were horizontal-running black lines across the image. I suppose the video artifact pattern may tell a clue as to what is failed, if one knows more about how the GPU and GPU RAM interface exactly. I don’t, so when I first saw the artifacts, I assumed it was yet another video card with a failed GPU to add to my collection. How I found that’s not the case turned out to be almost by coincidence.
As with all used GPUs I get (be it eBay, Craigslist, or wherever else), I always check for missing, cracked, and broken SMD components on the back of the PCB (and a quick glance at the front too.) You might be surprised, but I can say that about 50% of the time, I easily get cards with a minimum of one chipped or missing SMD component. Typically it’s the larger SMD multi-layer ceramic caps (MLCCs) that seem to get damaged from rough handling, though not always.
Knowing that, I perform a thorough inspection under good light. In case of the above Gigabyte Radeon HD6850, I found three (3) missing small SMD (1208 metric, I think) ceramic caps around the RAM. All were across the RAM Vdd rail (filtering power), so I expected the card would work fine without them (a few of these missing will almost never cause an issue.)
But when I was greeted with video artifacts, this is when I had to dig in a little deeper. Having experienced a desktop DDR3 RAM stick not recognizing due to a cracked SMD array resistor (link to post here), I started checking all of the small resistors on the back of the card. When I got to the ones around the RAM, I found there is a pattern on these: four read around 1.6 KOhms, two ~60 Ohms, and one ~120 Ohms. Looking for this patter on the 5th RAM chip (out of the 8 chips), I saw one of the resistors was reading short-circuit across it (R2410), and two others reading much lower resistance (R2400 and R2401, IIRC.)
At first, I thought that meant perhaps a RAM chip has gone bad. But then I discovered the resistor with the short circuit across it also had a ceramic cap (C2405) in parallel to it. So what are the chances that the ceramic cap could have gone short-circuit?
… well, not frequent, but certainly happens from time to time. And I knew it couldn’t be the resistor, because resistors always go open-circuit or high-resistance when bad.
So knowing that SMD ceramic caps do have the tendency to short out, I removed the one showing a short circuit (C2405) and…. VOILA!
All resistors on the 5th RAM chip read normal resistances just like the other chips. I removed a ceramic cap from another RAM chip that corresponded to the same spot as the bad one on the 5th chip, and measured its value: 680 nF. Welp, I didn’t have that value, but I do know my scrap Xbox 360 motherboards have many 220 nF SMD MLCCs. So I stacked two on top of each other for a total of ~440 nF. Three would have been ideal, but I didn’t feel like stacking do many on top of each other. Figured the ~440 nF capacitance should hopefully be close enough.I then inserted the video card in my test PC, crossed my fingers, and pressed the power button.
Results: IT’S ALIVE!
This card is working properly now!
At first, I tested the card under a quick ATI Tool GPU test, and then some older games. It didn’t give any errors or artifacts at all.
Eventually, I installed this GPU in my newest PC I use for gaming (no, not the Q6600/EVGA i780SLI PC – built another one that I haven’t posted yet in the “Post Your System” thread
So there you have it: GPU video artifact problems does not necessarily mean the GPU chip is bad.
I think I got lucky, though. Most modern GPUs do tend develop bad GPU (and often artifacts from that) rather than anything else going bad, especially problems like the card intermittently detecting, dropping out under load, or displaying “randomly” –colored video artifacts all over the screen, particularly once the drivers are installed. Nevertheless, I’m posting this here to just to show that in some rare cases, you can rescue a GPU from the dumpster and give it new life again.
Attached Files


Comment